Tuesday, June 4, 2013

Home update - FINALLY, I know. We're getting close!

Im back!!!! Wow, its been a crazy few weeks. Lots of delays, lots of thing that I never thought would take this long, however we're getting it done. For the most part, no contractors and solo work to complete what I needed done to keep costs down and of course my bro's help (and occasional work from Irrizle). 

I never in a million year thought Id be doing some hard labor like this, but heck...I guess its true when it comes to house renovations. Set a budget and expect to be waaaaaay off. To keep it in small numbers, if you set a budget of .50 cents, budget for $1.00 (seriously).

So like Ive always done, Ill explain whats been going on the last few weeks and will follow it up with some pictures.

From memory -

Major setback this time around was making walls "plumb" or perfect in other words (Up, Down, Left, Right, corners at 90 degrees square), etc. One thing you dont think about usually, but due to the tile work we are doing in the bathroom, this needed to be done otherwise imperfections would stand out. I had to essentially shim each stud in the bathroom before sheetrock goes in to get everything PERFECT. Basically needed - Staple/Nailer Gun, good levels (Stabila), some strips of wood and fir strips (aka as "Beef Jerky" to my brother and I, 2 bodies and tons of patience.

Here is a sample of what we were doing.
Darker strips are fir strips (thin) - Lighter strips are Mahogany1/4 Ply Strips for thickness


So, the top portion was bowed in and the bottom was furthest out - so we shimmed the wall to be straight with the bottom of the stud. Notice how the shims are thicker/stacked accordingly to achieve getting the wall straight top to bottom.


So doing this took the majority of my time - work, then the house after - 20 hour days working on this and it was very stressful. To most people that do this, Im sure there are easier ways, but this was the simple way that I was taught with my skill set for house stuff. It worked, so thats all that matters. Could it have been done different? Maybe...do I care?...not at this point. Its done.

So now the bathroom walls are complete and ready for the next step.

Some of the other major items we completed over the last few weeks:

Changes to electrical and finished ALL electrical.

Demolition of an arch we had in our living room area. Making it square to match the adjacent entry to dining room.

Completed low level electrical stuff - Multimedia, Camera Prep work, Door Bell (hardwired), and other things.

Sealed all holes exposed to crawl space or exterior for maximum energy efficiency by spraying foam blocker. New holes were created for new electrical in the walls and to the exterior walls for the addition of lighting. Remember, this is an old house, so we removed a ton of wires and created new holes for wires. ALL holes to the house have been sealed - I went for maximum coverage - one, to ensure air doesnt travel between the lower level and rise and secondly for critters. Never want any access for anything to crawl through.

New 8ft Copper Grounding Rod installed for electrical - Thanks to RonDZ and Ira for completing this fun job over using a sledge to dig this into the earth. I wanted to ensure proper ground with my new electrical, so I did not reuse what the house had in the ground. I instead got a new rod and had it done to ensure that EVERYTHING we did electrical was new. 

Insulation started and finished.

...next steps, Sheetrock and some minor roofing items to seal old vents and create new ones. The sheetrock will be a two week project as we will be smoothing all walls. No texture to the walls, just nice and flat. I did a lot of damage to the walls to get my wiring in the walls, so this will be the part where they fix my holes as well.

Sorry to keep the update short, but I felt I needed to update this blog before it got too carried away and I just abandoned it completely. At least this will get it up to speed for the most part - might have missed a few things here and there, but will cover it if I find what I missed.

Here are some snapshots of some of the stuff over the last few weeks.


Arch in the living room - existing.

Starting to remove the Arch.


Arch - GONE!
My workspace the last few weeks.

Every wall in the bathroom was made plumb - Tile will be the only wall you see in this room. No walls - maybe a few square feet and the ceiling. Everything else will be tile, so walls needed to be PERFECTLY Straight and Square. If you put a level on any of the walls across, diagonally, horizontally...it will be square and the level will contact each of the studs. Thats proper.
Just added the final wires for cables on this wall. Garage Multimedia center - this will host TV, Sound System, Camera Monitor, etc. Much like a living room only in the garage.

Foam stuff to seal holes - this is just a close up of what it looks like. Dont worry, eof this is seen later, so its need to be perfect is non existent. 


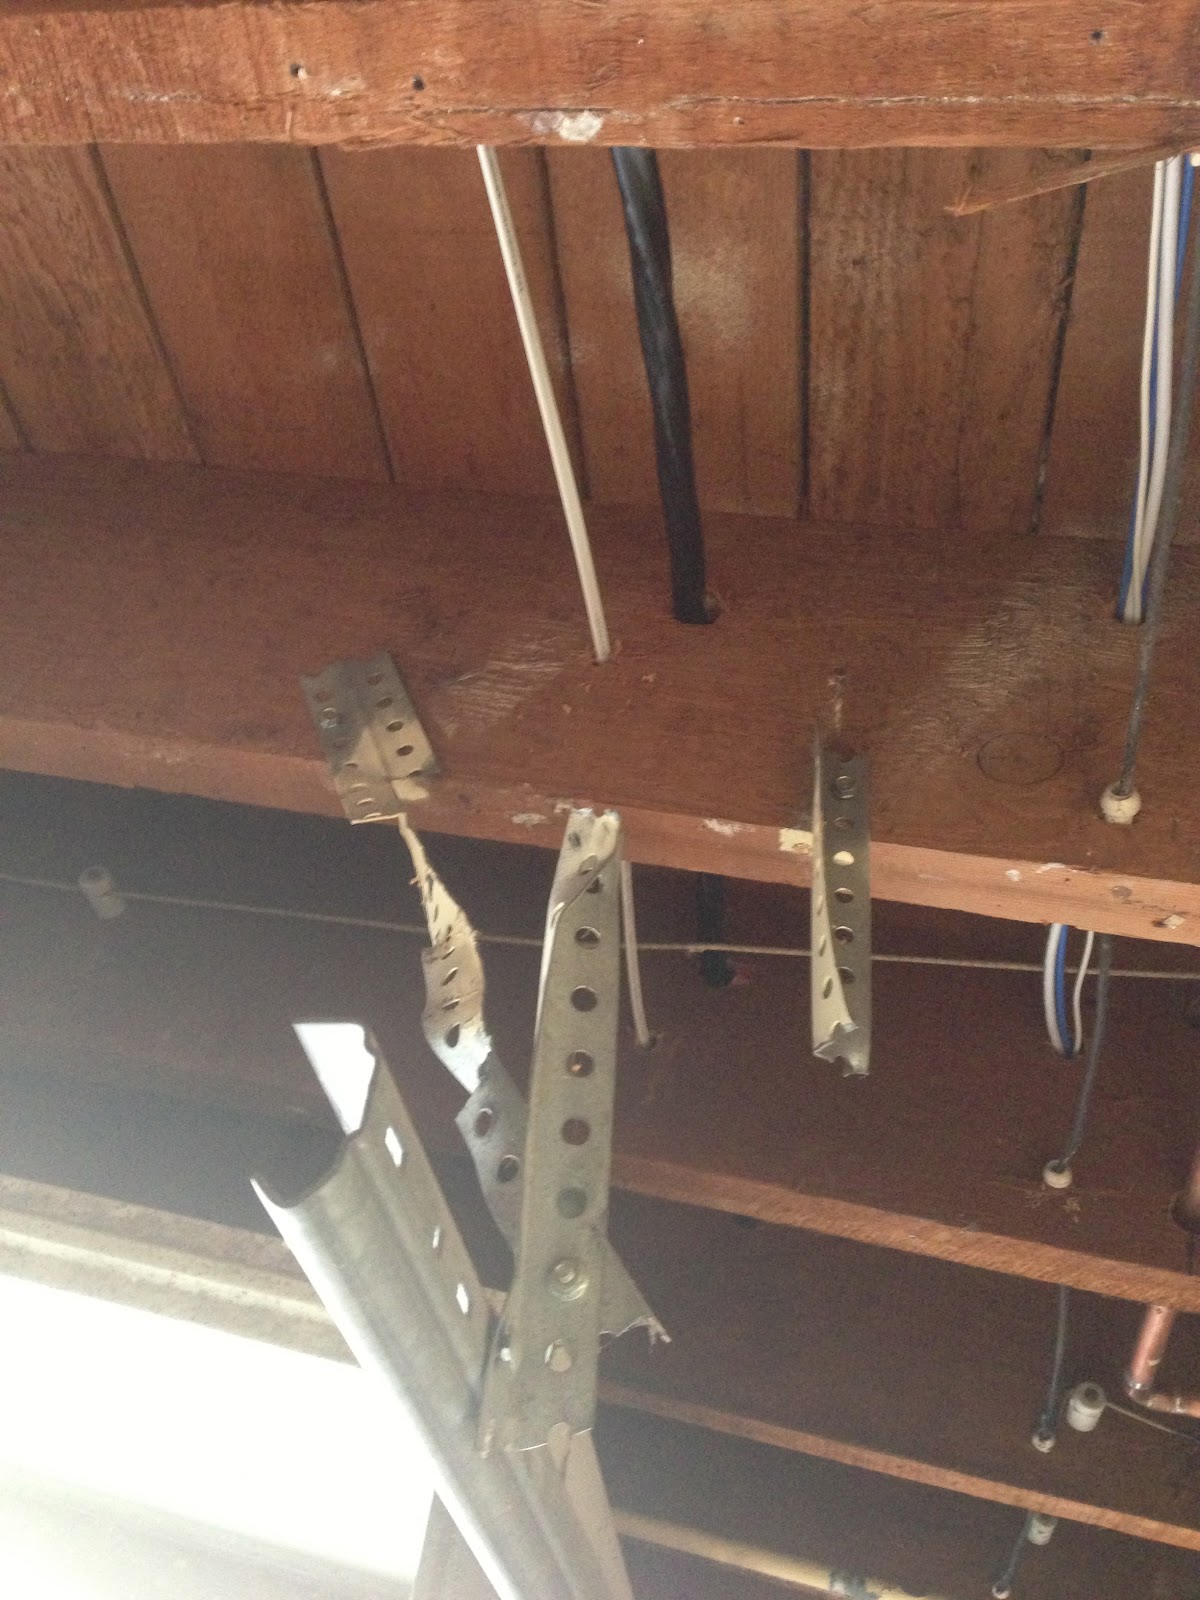
More samples of the foam stuff - look at the bottom area. The metal plates were part of my anti-critter. Some of the metal plates are nail plates to ensure sheetrock folks do not puncture anything (electrical, plumbing, etc.).


Laundry Room almost done - insulation installed, need some vents poked through the ceiling. Other than that its ready for sheetrock. 
Add caption
Add caption
Bathroom insulation completed.

Heres a shot of the kitchen - Insulation completed.
Add caption

Garage/Mancave - Insulation Completed.


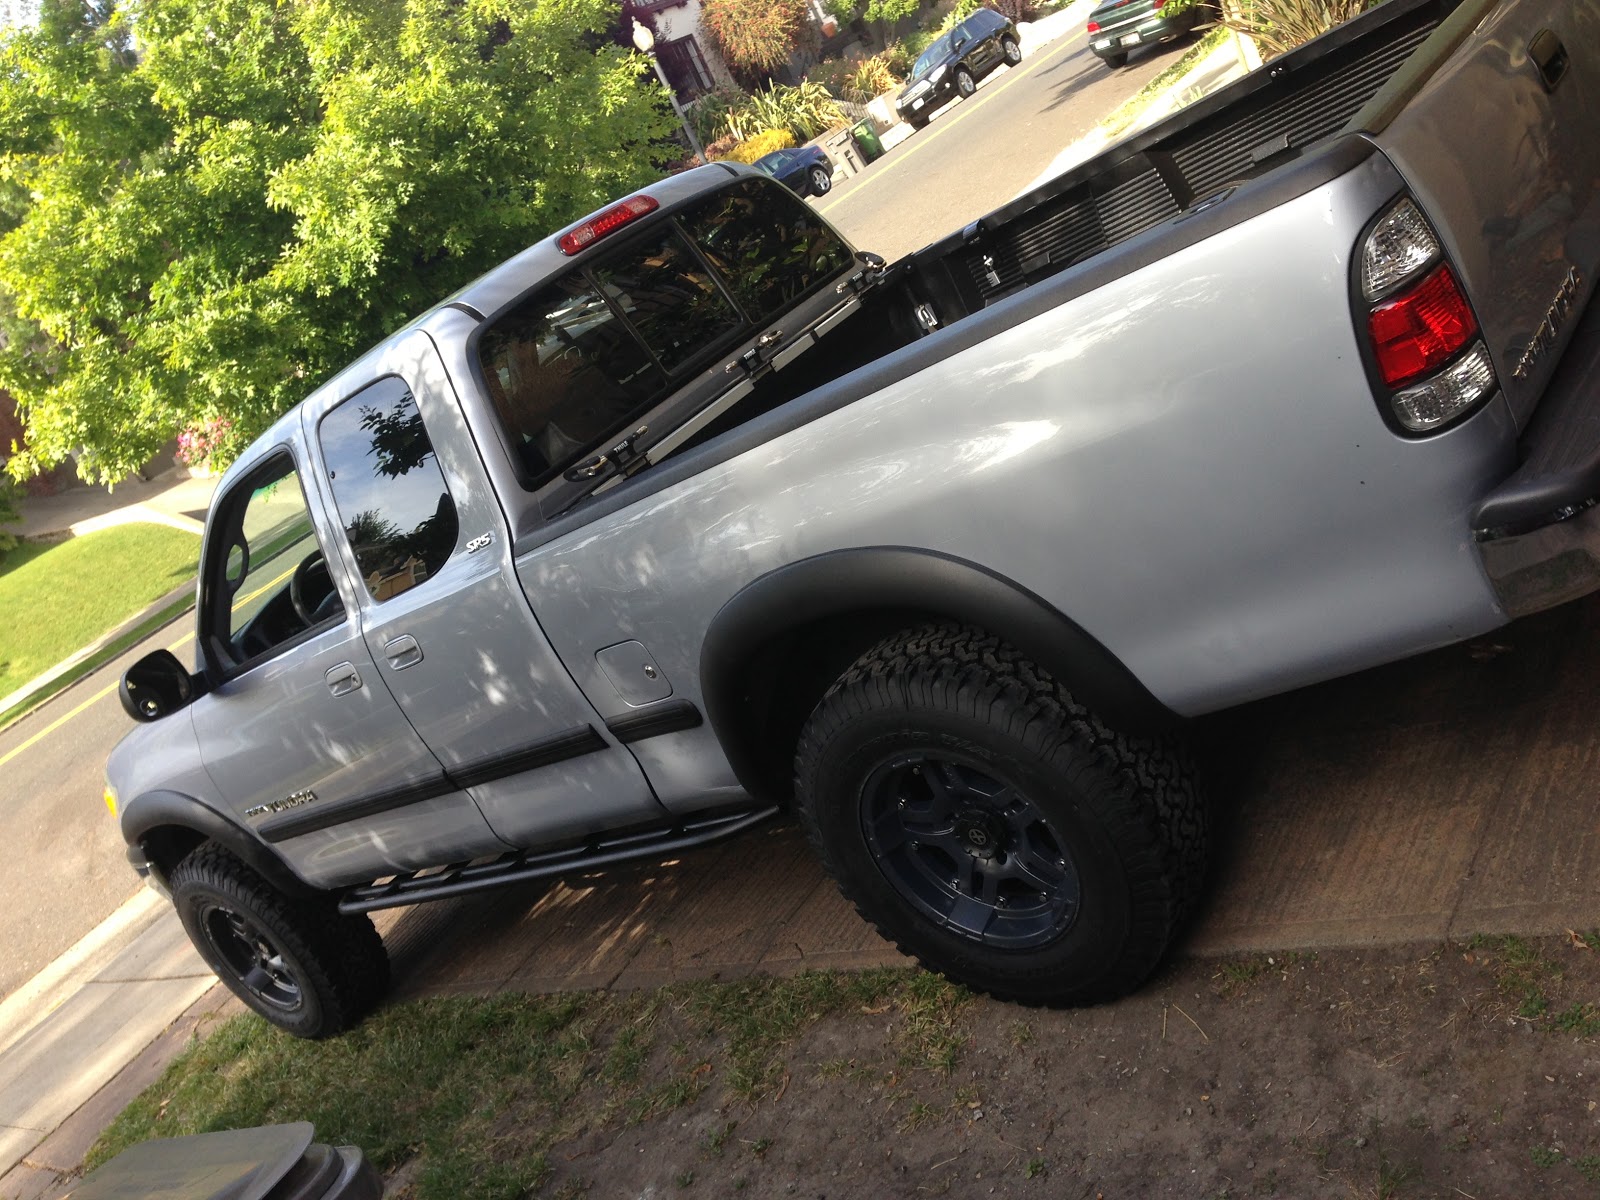
This truck is coming in handy from the father inlaw. We all know I couldnt drive it like this...sooo...
This thing got its own renovation - and yes, I got it to a point where its acceptable for me (hahaha)...no really, its a great truck, just needed some TLC. Along with the aesthetics, I did a lot of maintenance, getting it to run like it should have been running when all along. Houses...I dont know...Cars/Trucks...thats what I do know how to renovate. Believe it or not, it is the same truck. I dont think anyone thought this thing had potential before. Lov'en it now.


Saturday, March 30, 2013

Some Updates...

....and the list goes on. Im back and have quite a few little updates that Ill split into different posts.

Following passing all inspections, we had to fast track our electrical work. I had to complete all Multimedia wiring in the walls and then move on to getting all electrical completed throughout the house. This is currently underway.

As far as other work, we had some doors in the basement and garage replaced - for code and for purpose. Almost every door downstairs was original and were not up to code for todays standards. They were paper thin and just in bad shape, so it made sense to replace them. Oh, some of them (most of them rather) did not close properly. 

Doors replaced:

Mancave Bathroom - replaced because it didnt close. Wasnt worth reworking the door, so we ordered a new one. Nothing fancy, just a new door with new frame.

Basement Entry Door - replaced because it was mounted in a way that it was letting water in during heavy rain. The door sat below the ground level and did not open and close freely - it was rated as an interior door rather than exterior, so it was replaced with the proper door and we built up the door with curb to prevent water entry. 

Garage Door to basement - replaced because it was not a fire rated door. We had two areas to choose to replace with a fire rated door and chose the garage. The door upstairs leading to the house was still in good condition and that could have been the fire door to separate living space, but it was good enough to keep and to keep the house upstair consistent since we were keeping all original doors upstairs. The new garage door now closes properly (should close by itself per code)...it didnt before.

Crawl Space Door - replaced this because its in my mancave and it was not a fire rated door either. While we were at it, we decided to enlarge the door to allow larger items to fit in the garage. This is also the door that will lead to storage space under the house, so I felt like it should be built better or security and safety. 

Here are some pics of progress of the door items. Not sure if I have final pics, but they arent too exciting anyways...just doors.

Garage Door Curb Built up

Tore out old door, reframe

NEw door waiting for installation

Mancave Bathroom door removed

Crawl Space Door Replaced

Curb built on Basement Exterior Door


Exterior Basement Door Installed


Friday, March 15, 2013

...lots of old and new progress since last update.

Hello again...and no I havent been slacking off, but have been busy getting everything ready for inspections and other things. We have finally passed all "Rough" inspections and now can start putting our house back together. We had a few things to address after our first inspections and busy days have kept me from updating.

As usual, I'll explain whats been going on and it will be followed by pictures.

Topics
- Rough Inspections
- New Garage door and motor
- New Water Service from the street
- Refurbish/restore existing deck
- Stucco

INSPECTIONS
We passed Electrical, Building, Mechanical and Plumbing Inspections. Basically, one of the most challenging steps in remodels is making sure we have everything up to par with "code" and making sure the inspectors accept the work being done and to ensure its done right. This clearly is for our safety and to protect ourselves from things to ensure they are done correctly.
To summarize what all this means.

Electrical - Replaced ALL electrical in the house and added a new electrical panel - checked and passed

Building - New windows, new framing for changes we did to the structure and stucco prep work - checked and passed

Mechanical - New Furnace and all new ducting - checked and passed

Pluming - New Water lines (Copper for feed, PVC for waste), New Gas Lines, New Laundry Gas Line, New Water service (increased diameter of main feed to the house and replaced line to copper from Galvanized Steel) - checked and passed

GARAGE DOOR and MOTOR
As part of the remodel, it was decided to install a new garage door (current one was dented and installed wrong). We bought a new door that was insulated and at the same time would fix all the broken things that were unsafe with the old garage. At this time, I decided to replace the motor too...opted for the Belt Driven Motor (nearly silent when opening the garage now).

REFURBISH/RESTORE DECK
As you know, we decided to tear up our yard and start from scratch. Some of this involved removing many parts of our deck (mainly the fencing of the deck). Old fencing of the deck was covered in ivy plants and was lattice (kind of ugly and old school for a fencing).
Since we had no fencing, I felt for safety we might as well complete the deck so it is safe and usable. We werent sure what we were going to do, but I think with such a large deck that was actually constructed decent, we might as well use it and make the best of it. I decided to do some research on a design and went to work. On this project, I decided to reach out to Uncle Ed once again to help me construct my vision....and we did.

STUCCO
During our reconfiguration of the interior, we removed and replaced windows. While doing this, we found a few areas that fixed some problematic wood that was either rot or just in bad shape for one reason or another. Since a lot of stucco was removed, it was time to patch everything. All cracks and construction affected areas are now being repaired and restored back to how it was. Exterior is slowing coming together.

Here are some pics of the last few days/weeks of work that has been happening.

Old Garage Door - Backside. No insulation and ugly. 
Old garage door - works fine, but is chain driven and its a bit loud.

R&S Overhead here to deliver and install my new garage and motor.

Old garage door hanger - yes, its literally clinging on for dear life. Disaster waiting to happen.

Old garage door mounted to the door - this not the way to carry a heavy garage door - its mounted to a panel, not a reinforced area of the door.

Existing deck fencing and wood delivery - over 100+ pcs of wood delivered - all which will be used (it better or my calculation of wood was off and a waste of money). Im confident we'll use it all. 
Another view of our deck as it has sat since we cleared the yard.

My new Miter/Chop Saw and Stand

New Garage Door Motor installed - belt driven.

Belt driven motor...nice, silent, SOLID! 


New Garage Door hanger - PROPER!
Uncle Ed doing some prep work.

Sensor properly mounted for door. My last door, the owner decided they didnt need the sensors, so they mounted it on top of the opening and it was non functional...I didnt get that??$%#$%#@

New fencing for the deck. Working OT on the first night - yes, I was helping.

New garage door installed. We'll replace the concrete on the floor in the garage to fix the gaps some day soon and will repave the driveway - heavy cost items, so that will wait a bit (they are usable for now).

Uncle Ed getting some work done. 

New 1" Copper Pipe (L) rating. Overkill for our size house, but better done now than later if we expand the house.

Red Tape and Trench still open - this was waiting for inspection, so it had to stay this until signed off by inspector.

Stucco patching around the windows started.

More stucco patching.

...and more (man cave/basement area).

Deck fencing completed - custom built gate to match the rest. 

Deck ready for party times (thought the rest of the yard isnt, at least we can hang out on there without worrying about falling off. Mainly I got this done sooner than later for my dogs to enjoy the outside.

Another shot of the completed fencing on the deck. Uncle Ed enjoying his completed project.

Deck cleaned up - wood is stacked ready for the remainder. We still need to complete the stairs - more tricky due to the angles.

More wood - learned how to stack wood from my brother inlaw. Between each layer is a shim/spacer whatever you want to call it. Allows wood to dry if it gets damp from dew and prevents it from warping.

RonDZ and Uncle Ed having a brewski.

Keypad for Garage - standard these days, but much needed for us since I ride around town and dont like carrying keys. Also good in case youre locked out. Then again, my garage can be controlled from an iPhone...so not sure what the point of this is. I got it for free...so why not?


Thats all for now folks....like I mentioned above, its time to start putting the house back together. This is when it starts getting exciting. ALMOST home stretch!!!!!