Friday, March 15, 2013

...lots of old and new progress since last update.

Hello again...and no I havent been slacking off, but have been busy getting everything ready for inspections and other things. We have finally passed all "Rough" inspections and now can start putting our house back together. We had a few things to address after our first inspections and busy days have kept me from updating.

As usual, I'll explain whats been going on and it will be followed by pictures.

Topics
- Rough Inspections
- New Garage door and motor
- New Water Service from the street
- Refurbish/restore existing deck
- Stucco

INSPECTIONS
We passed Electrical, Building, Mechanical and Plumbing Inspections. Basically, one of the most challenging steps in remodels is making sure we have everything up to par with "code" and making sure the inspectors accept the work being done and to ensure its done right. This clearly is for our safety and to protect ourselves from things to ensure they are done correctly.
To summarize what all this means.

Electrical - Replaced ALL electrical in the house and added a new electrical panel - checked and passed

Building - New windows, new framing for changes we did to the structure and stucco prep work - checked and passed

Mechanical - New Furnace and all new ducting - checked and passed

Pluming - New Water lines (Copper for feed, PVC for waste), New Gas Lines, New Laundry Gas Line, New Water service (increased diameter of main feed to the house and replaced line to copper from Galvanized Steel) - checked and passed

GARAGE DOOR and MOTOR
As part of the remodel, it was decided to install a new garage door (current one was dented and installed wrong). We bought a new door that was insulated and at the same time would fix all the broken things that were unsafe with the old garage. At this time, I decided to replace the motor too...opted for the Belt Driven Motor (nearly silent when opening the garage now).

REFURBISH/RESTORE DECK
As you know, we decided to tear up our yard and start from scratch. Some of this involved removing many parts of our deck (mainly the fencing of the deck). Old fencing of the deck was covered in ivy plants and was lattice (kind of ugly and old school for a fencing).
Since we had no fencing, I felt for safety we might as well complete the deck so it is safe and usable. We werent sure what we were going to do, but I think with such a large deck that was actually constructed decent, we might as well use it and make the best of it. I decided to do some research on a design and went to work. On this project, I decided to reach out to Uncle Ed once again to help me construct my vision....and we did.

STUCCO
During our reconfiguration of the interior, we removed and replaced windows. While doing this, we found a few areas that fixed some problematic wood that was either rot or just in bad shape for one reason or another. Since a lot of stucco was removed, it was time to patch everything. All cracks and construction affected areas are now being repaired and restored back to how it was. Exterior is slowing coming together.

Here are some pics of the last few days/weeks of work that has been happening.

Old Garage Door - Backside. No insulation and ugly. 
Old garage door - works fine, but is chain driven and its a bit loud.

R&S Overhead here to deliver and install my new garage and motor.

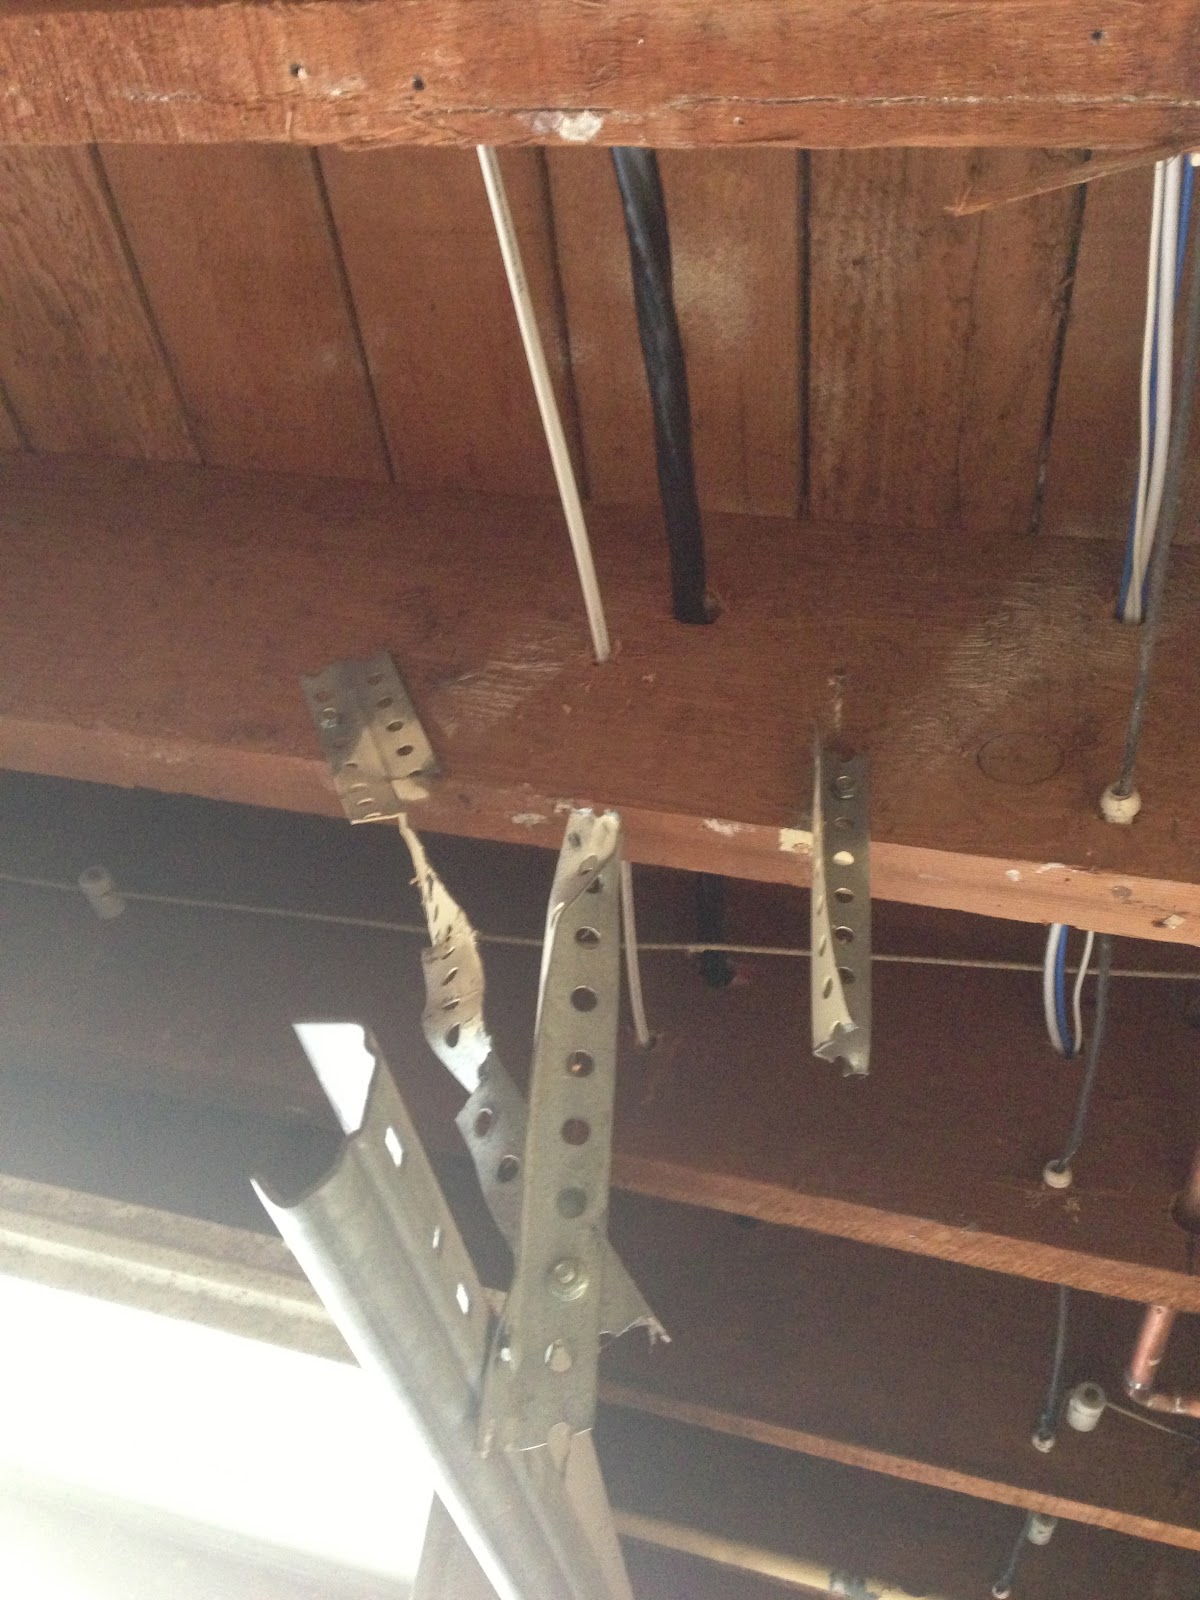
Old garage door hanger - yes, its literally clinging on for dear life. Disaster waiting to happen.

Old garage door mounted to the door - this not the way to carry a heavy garage door - its mounted to a panel, not a reinforced area of the door.

Existing deck fencing and wood delivery - over 100+ pcs of wood delivered - all which will be used (it better or my calculation of wood was off and a waste of money). Im confident we'll use it all. 
Another view of our deck as it has sat since we cleared the yard.

My new Miter/Chop Saw and Stand

New Garage Door Motor installed - belt driven.

Belt driven motor...nice, silent, SOLID! 


New Garage Door hanger - PROPER!
Uncle Ed doing some prep work.

Sensor properly mounted for door. My last door, the owner decided they didnt need the sensors, so they mounted it on top of the opening and it was non functional...I didnt get that??$%#$%#@

New fencing for the deck. Working OT on the first night - yes, I was helping.

New garage door installed. We'll replace the concrete on the floor in the garage to fix the gaps some day soon and will repave the driveway - heavy cost items, so that will wait a bit (they are usable for now).

Uncle Ed getting some work done. 

New 1" Copper Pipe (L) rating. Overkill for our size house, but better done now than later if we expand the house.

Red Tape and Trench still open - this was waiting for inspection, so it had to stay this until signed off by inspector.

Stucco patching around the windows started.

More stucco patching.

...and more (man cave/basement area).

Deck fencing completed - custom built gate to match the rest. 

Deck ready for party times (thought the rest of the yard isnt, at least we can hang out on there without worrying about falling off. Mainly I got this done sooner than later for my dogs to enjoy the outside.

Another shot of the completed fencing on the deck. Uncle Ed enjoying his completed project.

Deck cleaned up - wood is stacked ready for the remainder. We still need to complete the stairs - more tricky due to the angles.

More wood - learned how to stack wood from my brother inlaw. Between each layer is a shim/spacer whatever you want to call it. Allows wood to dry if it gets damp from dew and prevents it from warping.

RonDZ and Uncle Ed having a brewski.

Keypad for Garage - standard these days, but much needed for us since I ride around town and dont like carrying keys. Also good in case youre locked out. Then again, my garage can be controlled from an iPhone...so not sure what the point of this is. I got it for free...so why not?


Thats all for now folks....like I mentioned above, its time to start putting the house back together. This is when it starts getting exciting. ALMOST home stretch!!!!!


Thursday, February 28, 2013

Deck Repair and Foundation Post Reinforcement

Ive been wanting to do some minor fixes that probably wasnt worth it to bother our General Contractors and probably something I could do, but it would take me forever because Im not too good with tools yet. I decided to once again (and will probably time and time again) decided to reach out to my super handy Uncle that kind of knows everything....Uncle Ed. 

He did help me with some items earlier in the project and Ive reached out to him to help with some more items and much needed items for safety. 

In our crawl space when cleaning it up, I did notice some bad foundation piers that were starting to fail (from age, moisture, etc) and didnt want to chance it from being a larger issue in the future. The solution was to fix the possible weak piers and to add a brand new one in between to ensure if one fails, the new pier is there to hold the structure up still. Peace of mind type of project...probably not needed now, but would be in the future and just taking some measure to address it now before it gets serious.

For our deck, we had a large tree stump that was removed. Unfortunately, the tree stump was so large, they built the deck around it. At some point in time, it was a huge redwood, butgot cut before I even bought the place, they they left the stump visible from the deck and now that its gone, I had a huge hole to fill. It was clearly a safety thing. This is another item he was going to fix.

Here you go:

This is where the tree trunk was. I started pictures late, but it was a little more rounded and Uncle Ed had to cut the edges off to make a nice clean area to put new redwood planks. This was just open waiting for someone to fall in before.

Uncle Ed at work...I have a trailer in front of my house with demolition wood from job sites. We decided to use some redwood we found for reinforcements under the deck for the new planks.

Reinforcement beams in place. This was a bit odd to do because of the rounded hole that was cut for the tree....so no straight cuts here. It was challenging, but Uncle Ed knew what to do.

Done deal, better than I thought it would look. 
TADA!  From this angle, you can see how NOT STRAIGHT the deck is. Not sure what the reasoning was...but it works for now. Uncle Ed blended the Facia in front in with the rest of the deck. Clearly need to stain the deck and protect it when I have the time. Looks great though - no more worries about kids falling in...or my dogs.


Fully usable now. YES.

Shot from below.

Front Facia - Pretty good for the angles that needed to be cut. Im happy.
Foundation Piers sistered to existing posts. The center one is the new one that was put in in case the rear one fails (third one over). Notice the concrete pier is deteriorating. That was my concern. 


New pier (closest), old pier in the back. Notice the reinforcement wood - common item called "sistering". Im sure its fine without it, but the pier was starting to break apart, so it was best to TRY and do something to stabilize it. 

Now that we have the new support in place, this one will be easier to replace when we get to that point.  We decided to leave it for now, but it will get replaced soon.

...Till the next items on the lists.

Tuesday, February 26, 2013

Short Update w/ Pics & Some Inspections

Heres a quick update with the millions of things going on.

Basically after the window installation, we were ready for some inspections. For whatever reason, we forgot to pull a permit for the plumbing that we did, so that will need to be done still, however we scheduled some rough inspections to keep moving forward.

So when it came down to inspections, I figured I wouldnt need to handle this and all the subs would be able to answer questions during the inspections. WRONG. I ended up being the one that had to be onsite during the inspections and decided to pretend I knew what the heck I was talking about. Its good I was paying attention and learning along the way with our build out, otherwise I would not have been able to speak the language the inspector does. Though not complicated items, knowing what we were doing, why we were doing and how we were doing things helped. "Sounding" knowledgable definitely helped and the inspector signed us off on a few items with extras and praised the work that has been done this far.

Mechanical Inspection (HVAC) - Passed
*One minor fix in piping that feeds two rooms. Simple fix, not enough to flag.

Electrical Rough - Passed
*Minor fixes needed, some of which we wouldnt have known anyways because of some amendments the city has made for their code. Specific to Oakland I believe and was not a big deal. This one was a tricky one, but we got through it and I was able to answer all Electrical questions asked and was able to talk the talk when we were going through items....even pointing out things to the inspector to allow him to pass us.

The inspector also saw a few items that we had not pulled permits for yet, but said we would likely pass anyways, just needed to get the paperwork out of the way. Very comforting that things are being done right and rarely do people pass inspections on the first pass...we did for these items...good sign for now.

Here are a few pics of whats been going down lately. Not posting it all, but some just to show progress.

- Stucco Prep done around the windows after windows were installed
- More shelves mounted and more to come....just wanted to get stuff off the floor before they get damaged.

Water Proofing and Stucco Prep completed

Water Proofing and Stucco Prep completed

Water Proofing and Stucco Prep completed 
Water Proofing and Stucco Prep completed

Water Proofing and Stucco Prep completed

Water Proofing and Stucco Prep completed - Sealed a Living Room Side Window

Water Proofing and Stucco Prep completed

Water Proofing and Stucco Prep completed - New kitchen door from yard.

Looks much like another picture I posted in an earlier post, only the opposite side. Adding a deeper longer shelf on the bottom. That explains the emptiness down there...


Thats all for now folks...staying busy and will keep you all posted. We're getting close to being able to seal the walls inside. Next up is Insulation, Sheet Rock, more Electrical updates and Smoothing out existing walls so there is no texture and finally Stucco around all windows! 

Saturday, February 16, 2013

Window Installation and Side Projects

Window installation is coming to an end. Finish work is all that is left (Stucco Patching, Interior Trim, Stucco Trim, final water proofing and whatever else is associated when installing new windows.

I must say, it was probably the most expensive part of our project, but well worth it and much needed. I think we learned a lot and would probably do something different with our windows next time around, but likely wont happen unless we just decide to splurge one day...as if we didnt already with the windows we got (who knows?). Overall all, happy with the windows and clearly a HUGE benefit for us in regards to appearance, functionality and adding to our energy efficiency upgrades (dual pane, UV protection, etc etc).

Today the lower part of the house was done - the less likely to be seen by anyone, other than me and people who will come into my dungeon once in a while. Still, if the rest of the house got windows, so do my areas (Im grateful for that decision - probably the better decision so they all match now...we were originally thinking of not touching windows in the basement or garage).

I decided to take on a quick cheap project with Ira today. I reached out to him as I found an easy solution for my bike storage. This is something I have been noodling on for a while and finally found a very cost effective way to do it and it was simple. Basically the goal for my man cave is to remain clean and not have too much clutter out - part of that being my bike in an open area - for space and security.

I always wanted the bikes to be in a hidden lockable area - in case the house was ever broken into and to keep the garage clean. As you know, I love my bikes and at times I can have a few...not to mention when not in use, they take a ton of space. Well, problem solved. With a quick call to Ira to get some input and man power/carpenter skills and me going to Home Depot to get some cheap parts, we went ahead and did a quick bike rack install for the crawl space...(when I say Crawl Space - it just means under the house - parts of it really "crawl" space and other parts are stand up areas...but a part that no traffic will pass - EVER...other than me and anyone certified to enter).

A few other things we took care of that werent huge, but good useful upgrades. No time wasted. Also received another key part of the house technology.

Basement Window and Mini Man Cave toilet Window. Now Obscure - it used to be clear, so you could see right through if you were doing something.  
Crawl Space Bike Rack - Basically you hang bike off of the pipes from your seat. Plenty of room here for many bikes and it was simple and cheap - maybe a $40.00 project.

Heres what it looks like with one bike on. Off the floor and safely hanging with no issues. Now imagine that, but with all my bikes (and Lil C'z bike of course). We can fit all our bikes and guest bikes when we ride and store them away as needed - SAFELY. Crawl space has one entrance and will be key code locked at all times. 
This is just some new shelving I decided to add to todays project. Great racking system by Rubber Maid. I wasnt a fan of the junky wood work they previous owner had here, so I got some sturdy, properly mounted shelves. I will be adding more of this and have plenty of room for expansion as needed. It was a test for today and it works great and is very sturdy. What was here before was just horrible.  Remember, this is crawl space that no one will see...so though it doesn't need to look pretty in this area, the shelves are still nice.
The backbone to our network is slowing coming together. Yes, I have planned this much like a business network - our house will run at Gigabit Speeds - no issues with gaming, streaming video/music, transferring files, etc etc. 48 total ports available - probably 32 will be live and active for anyone to plug into. 12 of the ports are in the garage for open use. ALL TV's and Cable Boxes will have direct Ethernet Connections (not wireless for true uninterrupted speeds) and each room will have a minimum of 2-4 ports available for Data/Voice. This is all part of my hardwired project - though wireless will be available in all bands as needed - 802.11 A, B, G, N through (2) Airport Access Points of course. One will be located under the house in back and one will be located in front to cover the entire radius of the home including the backyard and street immediately in front. The man cave will also have a dedicated Network Printer for any guest - a multi function machine rather. No need for Kinkos - we'll have it taken care of here. And for the dorks that read too deeply into technology, YES, I know my bandwidth will still be the bottleneck - kiss my @ss. Comcast will be plenty fast and your a "doofball". 

Wednesday, February 13, 2013

Major Milestone...

Its been a few days since Ive posted and a lot has been going on. Im not sure I want to write much, but heres whats been going down -

Received Window Delivery
Window Installation Begins
Electrical Rough Inspection is ready
Plumbing Rough Inspections is ready
...more window installations....

So the windows have been one of the items we have been waiting for and they finally arrived. We are expecting this to be done this week and once it is completed, then the next steps begin.

From my recollection of timing of events, the Windows was a huge item we had to wait on in order to move forward with our rough inspections from the city. Here is a quick sequence of tasks from this day forward:

Finalize window install
Rough inspections (windows, electrical, plumbing, etc)
Get approval to ceil walls and move the to next steps...
Insulation Installations (Exterior walls and ceiling)
Sheet Rock/Mud
Smooth all walls (remove current texturing) and patch any openings from electrical work
Move forward with electrical in all other rooms other than Kitchen and Bathroom

Here are some pics of the events that have occurred in the last few days.


Windows arrived...and its raining! 

Some of our windows
New Rear Door for new opening

Master Bedroom Window area - reframed 
Removing Stucco - remember, we did New Construction Windows, not inserts. This ensure proper fit and a leak proof installation. No risks taken with water damage for new windows.

New windows in Master Bedroom installed. 

Water Heat Power is now live - threw this in our of no where.

This is our Closet Window - installed and reframed

Framed a new closet for Bedroom #2.

New Bathroom Window installed - Obscure finish for privacy

Outside view of Bathroom Window
Bedroom #2 - Removed door that used to be here, sealing area and framing for new windows. Gentlemen on the right is cutting out the new opening to the kitchen for our new door.

...its taking shape.

Bedroom #2 - Door gone, new framed area for windows

Bedroom #2 - Windows installed

My General Contractor checking on the carpenters. New rear door installation in progress.

Quick view of new door from inside. 
I got bored, so I mounted our Temp control for our new Water Heater. Its in the crawl space - sort of a set it and forget it device, so no need for it to be anywhere inside the house. Its nice that we can control water temperature through this...basically set what we want max temps to be when using hot water.

Shot from the deck - all new windows installed and new doorway to kitchen.


Its looking beat up - but the transformation is taking shape.
Finally decided to slap the signage for JBT on the lawn. Now that it sounds like and looks like we are getting some major major work done.